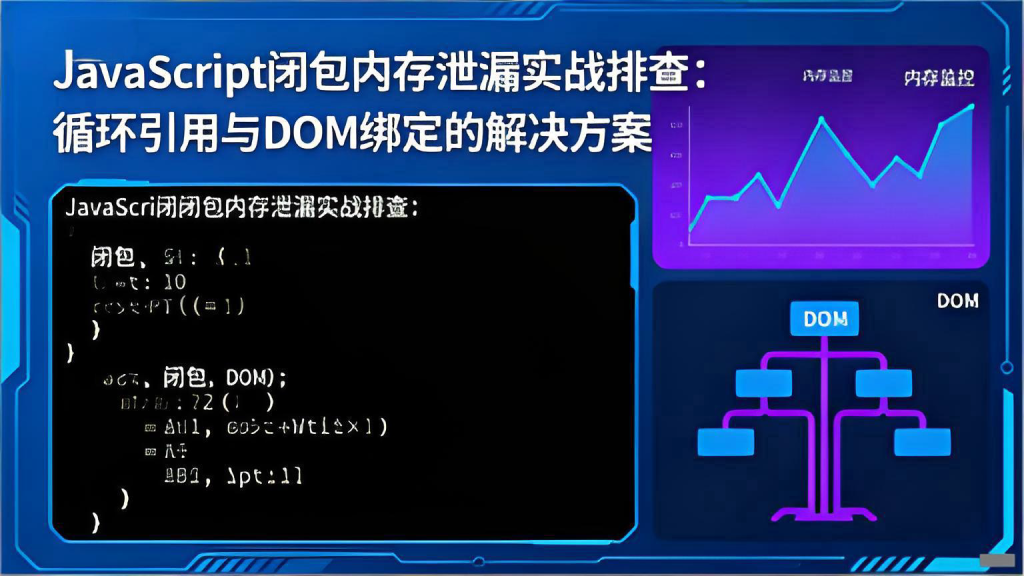
本文深入分析JavaScript闭包在实际开发中导致内存泄漏的具体场景,重点解决循环引用、DOM事件绑定、定时器未清理三大问题。通过Chrome DevTools内存快照对比和可复现的泄漏代码示例,提供完整的检测方法和修复方案。
![图片[1]-JavaScript闭包内存泄漏实战排查:循环引用与DOM绑定的解决方案](https://blogimg.vcvcc.cc/2025/11/20251109133136635-1024x576.png?imageView2/0/format/webp/q/75)
一、循环引用导致的闭包内存泄漏
1. 典型循环引用泄漏场景
DOM元素与闭包之间的循环引用是常见的内存泄漏原因:
// 泄漏示例:DOM元素与闭包的循环引用
function setupLeakyComponent() {
    const container = document.getElementById('container');
    const data = {
        element: container,
        largeData: new Array(1000000).fill('泄漏的数据')
    };

    // 闭包引用DOM元素,DOM元素通过属性引用闭包
    container.onclick = function() {
        // 这个闭包引用了data,data引用了container
        console.log('点击了:', data.element.id);
    };

    // 即使移除DOM,由于循环引用无法被垃圾回收
    // container -> onclick函数 -> data -> container
}

// 重现泄漏步骤
document.body.innerHTML = '<div id="container">测试容器</div>';
setupLeakyComponent();
// 即使执行以下操作,内存也不会释放
document.body.innerHTML = ''; // DOM移除,但内存泄漏
2. 循环引用检测与修复方案
使用弱引用打破循环引用链:
// 修复方案:使用WeakMap打破循环引用
function setupFixedComponent() {
    const container = document.getElementById('container');

    // 使用WeakMap存储数据,不阻止垃圾回收
    const componentData = new WeakMap();
    const data = {
        largeData: new Array(1000000).fill('不会泄漏的数据')
    };

    componentData.set(container, data);

    container.onclick = function() {
        const associatedData = componentData.get(container);
        if (associatedData) {
            console.log('点击了:', container.id);
        }
    };

    // 正确清理:移除事件监听
    return function cleanup() {
        container.onclick = null;
        componentData.delete(container);
    };
}

// 使用示例
const cleanup = setupFixedComponent();
// 需要清理时调用
// cleanup();
二、DOM事件绑定的闭包泄漏
1. 事件监听器泄漏模式分析
未正确移除的事件监听器是闭包泄漏的重灾区:
// 泄漏示例:未移除的事件监听器
class LeakyEventManager {
    constructor() {
        this.data = new Array(100000).fill('大型数据集');
        this.setupEvents();
    }

    setupEvents() {
        document.addEventListener('click', () => {
            // 这个箭头函数形成闭包,引用this.data
            console.log('数据长度:', this.data.length);
        });

        // 即使LeakyEventManager实例被销毁,事件监听器仍然存在
        // 因为闭包保持着对this.data的引用
    }
}

// 测试泄漏
let manager = new LeakyEventManager();
manager = null; // 尝试销毁实例,但内存不会释放
2. 事件监听器泄漏修复
使用具名函数和显式引用管理:
// 修复方案:可控的事件监听器管理
class FixedEventManager {
    constructor() {
        this.data = new Array(100000).fill('安全的数据集');
        this.boundHandlers = new Map();
        this.setupEvents();
    }

    setupEvents() {
        // 使用具名函数,避免匿名函数闭包
        this.handleClick = this.handleClick.bind(this);
        document.addEventListener('click', this.handleClick);

        // 记录绑定的事件,便于后续清理
        this.boundHandlers.set('click', this.handleClick);
    }

    handleClick(event) {
        console.log('数据长度:', this.data.length);
    }

    // 提供明确的清理方法
    destroy() {
        for (const [type, handler] of this.boundHandlers) {
            document.removeEventListener(type, handler);
        }
        this.boundHandlers.clear();
        this.data = null; // 显式断开引用
    }
}

// 安全使用示例
const manager = new FixedEventManager();
// 使用完成后主动清理
// manager.destroy();
三、setInterval和setTimeout的闭包泄漏
1. 定时器泄漏场景重现
未清理的定时器保持对闭包的持续引用:
// 泄漏示例:未清除的定时器
function startLeakyTimer() {
    const largeData = new Array(500000).fill('定时器数据');
    let count = 0;

    setInterval(() => {
        // 这个闭包持续引用largeData
        count++;
        console.log(`计时: ${count}, 数据大小: ${largeData.length}`);
    }, 1000);

    // 即使不再需要,定时器继续运行,largeData无法被回收
}

// 更隐蔽的泄漏:在类中使用定时器
class LeakyTimerClass {
    constructor() {
        this.data = new Array(500000).fill('类实例数据');
        this.startTimer();
    }

    startTimer() {
        setInterval(() => {
            // 闭包引用this,保持整个实例存活
            this.processData();
        }, 1000);
    }

    processData() {
        console.log('处理数据:', this.data.length);
    }
}

// 泄漏测试
const timerInstance = new LeakyTimerClass();
timerInstance = null; // 实例无法被回收
2. 定时器泄漏完整解决方案
实现可控的定时器管理机制:
// 修复方案:可管理的定时器封装
class SafeTimerManager {
    constructor() {
        this.timers = new Set();
        this.data = new Array(500000).fill('安全定时器数据');
    }

    // 安全的setInterval封装
    setSafeInterval(callback, delay) {
        const timerId = setInterval(() => {
            callback();
        }, delay);

        this.timers.add(timerId);
        return timerId;
    }

    // 安全的setTimeout封装
    setSafeTimeout(callback, delay) {
        const timerId = setTimeout(() => {
            callback();
            this.timers.delete(timerId);
        }, delay);

        this.timers.add(timerId);
        return timerId;
    }

    // 清理单个定时器
    clearTimer(timerId) {
        if (this.timers.has(timerId)) {
            clearInterval(timerId);
            clearTimeout(timerId);
            this.timers.delete(timerId);
        }
    }

    // 清理所有定时器
    clearAllTimers() {
        for (const timerId of this.timers) {
            clearInterval(timerId);
            clearTimeout(timerId);
        }
        this.timers.clear();
    }

    // 实例销毁方法
    destroy() {
        this.clearAllTimers();
        this.data = null;
    }
}

// 使用示例
const timerManager = new SafeTimerManager();

// 安全地设置定时器
const intervalId = timerManager.setSafeInterval(() => {
    console.log('安全定时器运行');
}, 1000);

// 需要时清理特定定时器
// timerManager.clearTimer(intervalId);

// 或者清理所有定时器
// timerManager.destroy();
四、Chrome DevTools内存分析实战
1. 内存泄漏检测步骤
使用开发者工具精确识别闭包泄漏:
// 内存泄漏测试代码 - 用于DevTools分析
function createMemoryLeak() {
    const leaks = [];

    return {
        addLeak: function() {
            // 每次调用添加1MB数据到闭包中
            const leakyData = new Array(1024 * 1024 / 8).fill('泄漏数据');
            const element = document.createElement('div');

            // 创建循环引用
            element.leakyRef = {
                data: leakyData,
                element: element
            };

            // 事件监听器保持引用
            element.addEventListener('click', function() {
                console.log('泄漏数据大小:', leakyData.length);
            });

            leaks.push(element);
        },

        clearLeaks: function() {
            // 不正确的清理 - 仍然泄漏
            leaks.length = 0;
        },

        properClear: function() {
            // 正确的清理方法
            for (const element of leaks) {
                element.leakyRef = null;
                element.removeEventListener('click', () => {});
            }
            leaks.length = 0;
        }
    };
}

// 在DevTools中测试:
// 1. 打开Memory面板
// 2. 选择Heap Snapshot
// 3. 拍快照1
// 4. 执行createMemoryLeak().addLeak()多次
// 5. 拍快照2,对比内存增长
2. 内存快照分析方法
通过对比快照定位泄漏源:
// 内存分析辅助函数
class MemoryAnalyzer {
    constructor() {
        this.snapshots = [];
        this.leakTestData = null;
    }

    // 生成测试数据
    generateTestData(sizeMB = 10) {
        const size = (sizeMB * 1024 * 1024) / 8;
        this.leakTestData = new Array(size).fill('测试数据');
        return this.leakTestData;
    }

    // 创建可疑的闭包
    createSuspiciousClosure() {
        const data = this.generateTestData(5);
        let leakedReference = null;

        return function() {
            // 这个闭包可能泄漏
            if (!leakedReference) {
                leakedReference = {
                    data: data,
                    timestamp: Date.now()
                };
            }
            return leakedReference;
        };
    }

    // 清理测试数据
    cleanup() {
        this.leakTestData = null;
        if (global.gc) {
            global.gc(); // 需要启动Node.js时添加--expose-gc参数
        }
    }
}

// 在浏览器DevTools中的操作步骤:
console.log(`
内存泄漏分析步骤:

1. 打开Chrome DevTools → Memory面板
2. 选择"Allocation instrumentation on timeline"
3. 点击开始记录
4. 执行可能泄漏的操作
5. 点击停止记录
6. 分析蓝色柱状图(未释放的内存)

或者:

1. 选择"Heap snapshot"
2. 拍快照1(基准线)
3. 执行操作
4. 拍快照2
5. 选择"Comparison"对比模式
6. 查看新增的对象和闭包
`);
五、React/Vue框架中的闭包泄漏
1. React Hooks闭包陷阱
useEffect和useCallback中的常见泄漏模式:
import React, { useState, useEffect, useCallback } from 'react';

// 泄漏示例:useEffect闭包陷阱
function LeakyComponent() {
    const [data, setData] = useState(new Array(10000).fill('组件数据'));
    const [count, setCount] = useState(0);

    useEffect(() => {
        // 这个effect闭包捕获了data的初始值
        const interval = setInterval(() => {
            console.log('当前数据:', data.length); // 总是初始值
            setCount(prev => prev + 1);
        }, 1000);

        return () => clearInterval(interval);
    }, []); // 空依赖数组 - 这是问题所在

    return <div>计数: {count}</div>;
}

// 修复方案:正确的依赖管理
function FixedComponent() {
    const [data, setData] = useState(new Array(10000).fill('组件数据'));
    const [count, setCount] = useState(0);

    // 使用useCallback避免不必要的闭包重建
    const handleData = useCallback(() => {
        console.log('当前数据:', data.length);
    }, [data]); // 正确声明依赖

    useEffect(() => {
        const interval = setInterval(() => {
            handleData();
            setCount(prev => prev + 1);
        }, 1000);

        return () => clearInterval(interval);
    }, [handleData]); // 依赖handleData

    return <div>计数: {count}</div>;
}
2. Vue Composition API闭包问题
Vue 3中类似的闭包泄漏场景:
// Vue 3 Composition API 泄漏示例
import { ref, onMounted, onUnmounted } from 'vue';

export function useLeakyComposable() {
    const data = ref(new Array(10000).fill('Vue数据'));
    const count = ref(0);

    onMounted(() => {
        // 定时器闭包捕获data的初始引用
        const timer = setInterval(() => {
            console.log('数据:', data.value.length);
            count.value++;
        }, 1000);

        // 忘记清理定时器
        // onUnmounted(() => clearInterval(timer));
    });

    return { count };
}

// 修复方案:完整的生命周期管理
export function useFixedComposable() {
    const data = ref(new Array(10000).fill('Vue数据'));
    const count = ref(0);
    let timer = null;

    const startTimer = () => {
        timer = setInterval(() => {
            console.log('数据:', data.value.length);
            count.value++;
        }, 1000);
    };

    const stopTimer = () => {
        if (timer) {
            clearInterval(timer);
            timer = null;
        }
    };

    onMounted(() => {
        startTimer();
    });

    onUnmounted(() => {
        stopTimer();
    });

    // 提供手动控制方法
    return {
        count,
        startTimer,
        stopTimer
    };
}
六、闭包泄漏检测工具和自动化方案
1. 自动化内存泄漏检测
创建运行时内存监控:
// 内存泄漏监控工具
class MemoryLeakDetector {
    constructor() {
        this.initialMemory = null;
        this.leakThreshold = 1024 * 1024; // 1MB
        this.snapshots = [];
        this.setupMonitoring();
    }

    setupMonitoring() {
        // 记录初始内存状态
        this.initialMemory = this.getMemoryUsage();

        // 定期检查内存增长
        this.monitorInterval = setInterval(() => {
            this.checkMemoryGrowth();
        }, 5000);
    }

    getMemoryUsage() {
        if (global.gc) {
            global.gc(); // 强制垃圾回收(Node.js)
        }

        if (performance && performance.memory) {
            // 浏览器环境
            return performance.memory.usedJSHeapSize;
        }

        if (process && process.memoryUsage) {
            // Node.js环境
            return process.memoryUsage().heapUsed;
        }

        return null;
    }

    checkMemoryGrowth() {
        const currentMemory = this.getMemoryUsage();
        if (!currentMemory || !this.initialMemory) return;

        const growth = currentMemory - this.initialMemory;

        if (growth > this.leakThreshold) {
            console.warn(`⚠️ 疑似内存泄漏: 内存增长 ${(growth / 1024 / 1024).toFixed(2)}MB`);
            this.takeSnapshot();
        }
    }

    takeSnapshot() {
        if (console && console.trace) {
            console.trace('内存泄漏追踪栈:');
        }

        this.snapshots.push({
            timestamp: Date.now(),
            memory: this.getMemoryUsage(),
            stack: new Error().stack
        });
    }

    destroy() {
        if (this.monitorInterval) {
            clearInterval(this.monitorInterval);
        }
    }
}

// 使用示例
const leakDetector = new MemoryLeakDetector();

// 在测试代码中使用
// 模拟泄漏
const leakyReferences = [];
setInterval(() => {
    leakyReferences.push(new Array(1000).fill('测试泄漏'));
}, 1000);
总结
JavaScript闭包内存泄漏问题的核心在于理解引用关系和生命周期管理:
关键排查点:
- 🔍 循环引用:DOM元素与JavaScript对象之间的相互引用
- 🎯 事件监听器:未移除的事件处理函数保持闭包引用
- ⏰ 定时器管理:setInterval和setTimeout的持续引用
- 🏗️ 框架特定问题:React Hooks和Vue Composition API的闭包陷阱
预防措施:
- 使用WeakMap/WeakSet打破强引用链
- 为事件监听器和定时器提供明确的清理接口
- 在框架组件中正确声明依赖数组
- 定期使用DevTools进行内存分析
最佳实践:
// 安全的闭包模式
function createSafeClosure() {
    const data = largeData;
    let isDestroyed = false;

    function operation() {
        if (isDestroyed) return;
        // 使用data...
    }

    return {
        execute: operation,
        destroy: () => {
            isDestroyed = true;
            data = null; // 显式断开引用
        }
    };
}
通过系统化的内存管理和正确的闭包使用模式,可以有效地预防和解决JavaScript中的内存泄漏问题,确保应用的长期稳定运行。
© 版权声明
THE END


暂无评论内容